When the lockdown began in March 2020 – the music school I work for transitioned to virtual lessons on Zoom. The next couple of months were a learning curve as I implemented many new strategies.
I want to share with you my findings on how to make virtual lessons a successful teaching experience. I’ll be speaking about doing virtual lessons on Zoom, however, with a couple of tweaks, I feel like you could achieve this success on any video-conferencing platform.

My Story
At the age of seven, my parents enrolled me in singing lessons, and my journey began. I built my confidence by singing classical, musical theatre, and pop music in my community.
At the age of fourteen, I was accepted into the vocal music – regional arts program at my high school. I performed in choirs, music festivals, and spent my summers being a camp counsellor.
In June 2011, I launched my blog Laurel Musical to journal my grade twelve high school experience as I auditioned for music programs at universities.
I was accepted to Western University for an Honors Bachelor of Music in Voice Performance and graduated in 2016.
In August 2016, I started teaching singing and piano lessons at a private music school, and for the past four years, I’ve taught 25+ students weekly.
My blog Laurel Musical was still active in 2016, and I became recognized in my community and hired by the music school and a music festival to develop their social media content.
Now in 2021, I am a music teacher, the blogger of Laurel Musical, and a Post-Graduate student in Digital Media Marketing at George Brown College.
Want to hear me sing? Here’s a recording of me singing Sara Bareilles’ Gravity!
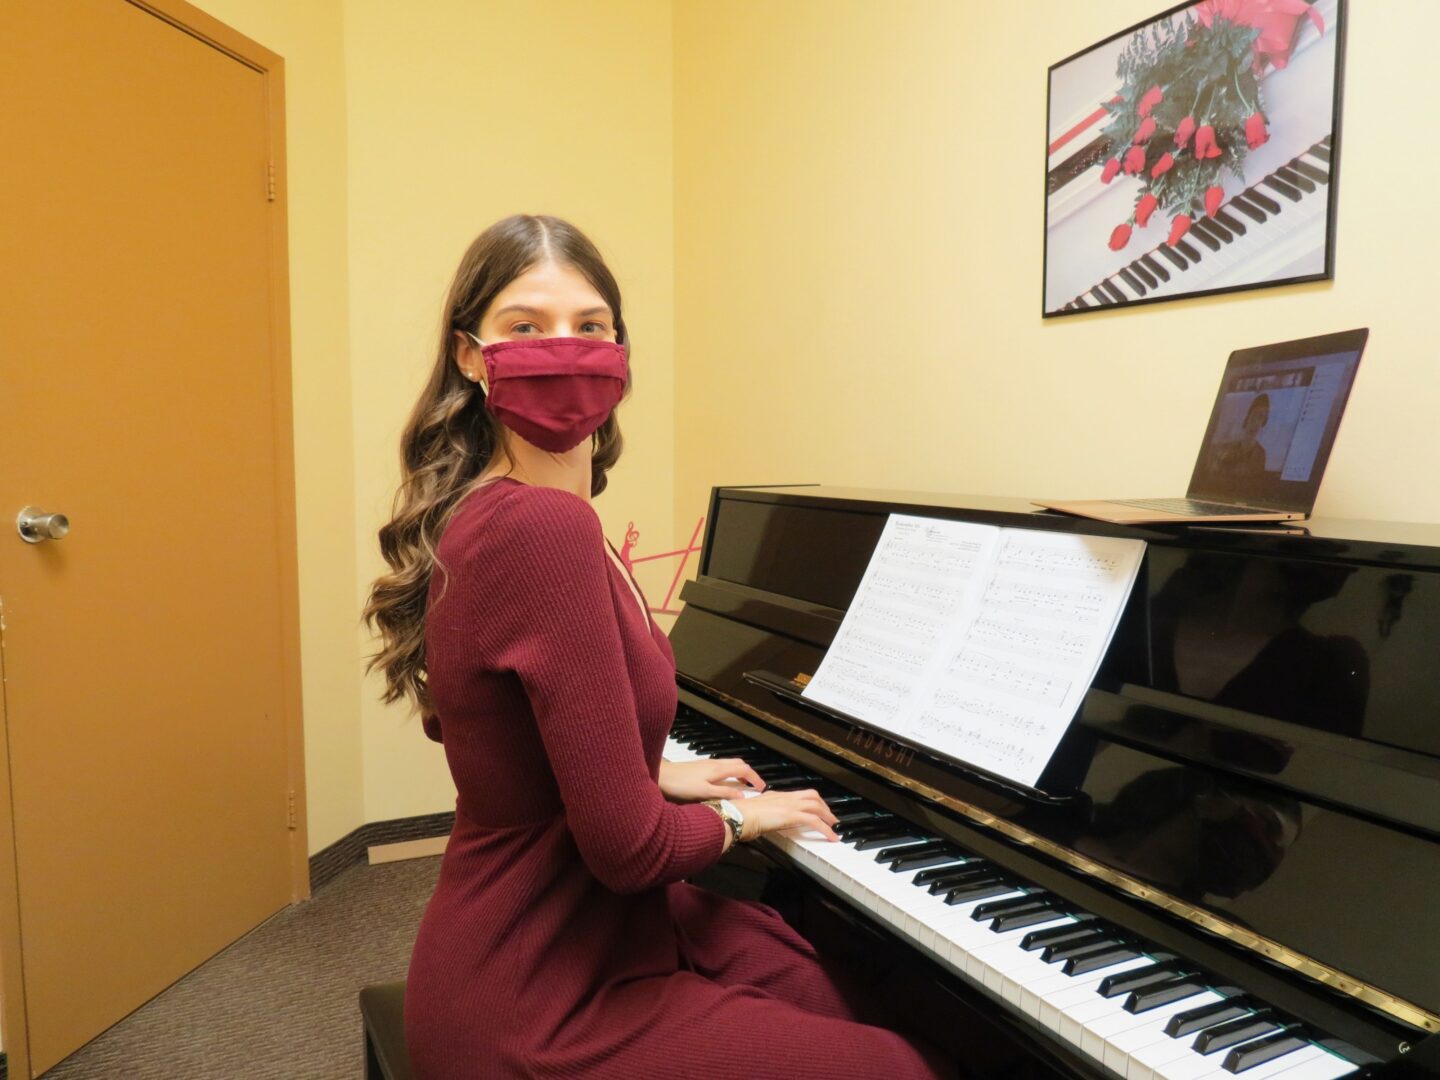
How I Follow COVID-19 Protocols
The private music school I work for is now open for both in-person and virtual lessons. I wear a mask at the music school at all times.
Before The Virtual Music Lesson
Gather Your Materials
- Laptop or Desktop Computer
- Music Books or Sheet Music
- A Journal
- Pens, Pencils, and Highlighters
- Smartphone or Tablet
Optional Materials
Keyboard or Piano – Using a piano for virtual music lessons is a nice touch, but not necessary as a teacher. Zoom cuts out microphones when it feels like one participant is being interrupted, it’s difficult for two pianos to play simultaneously. I prefer teaching with a piano, but there are virtual pianos, like the Online Pianist on the web.
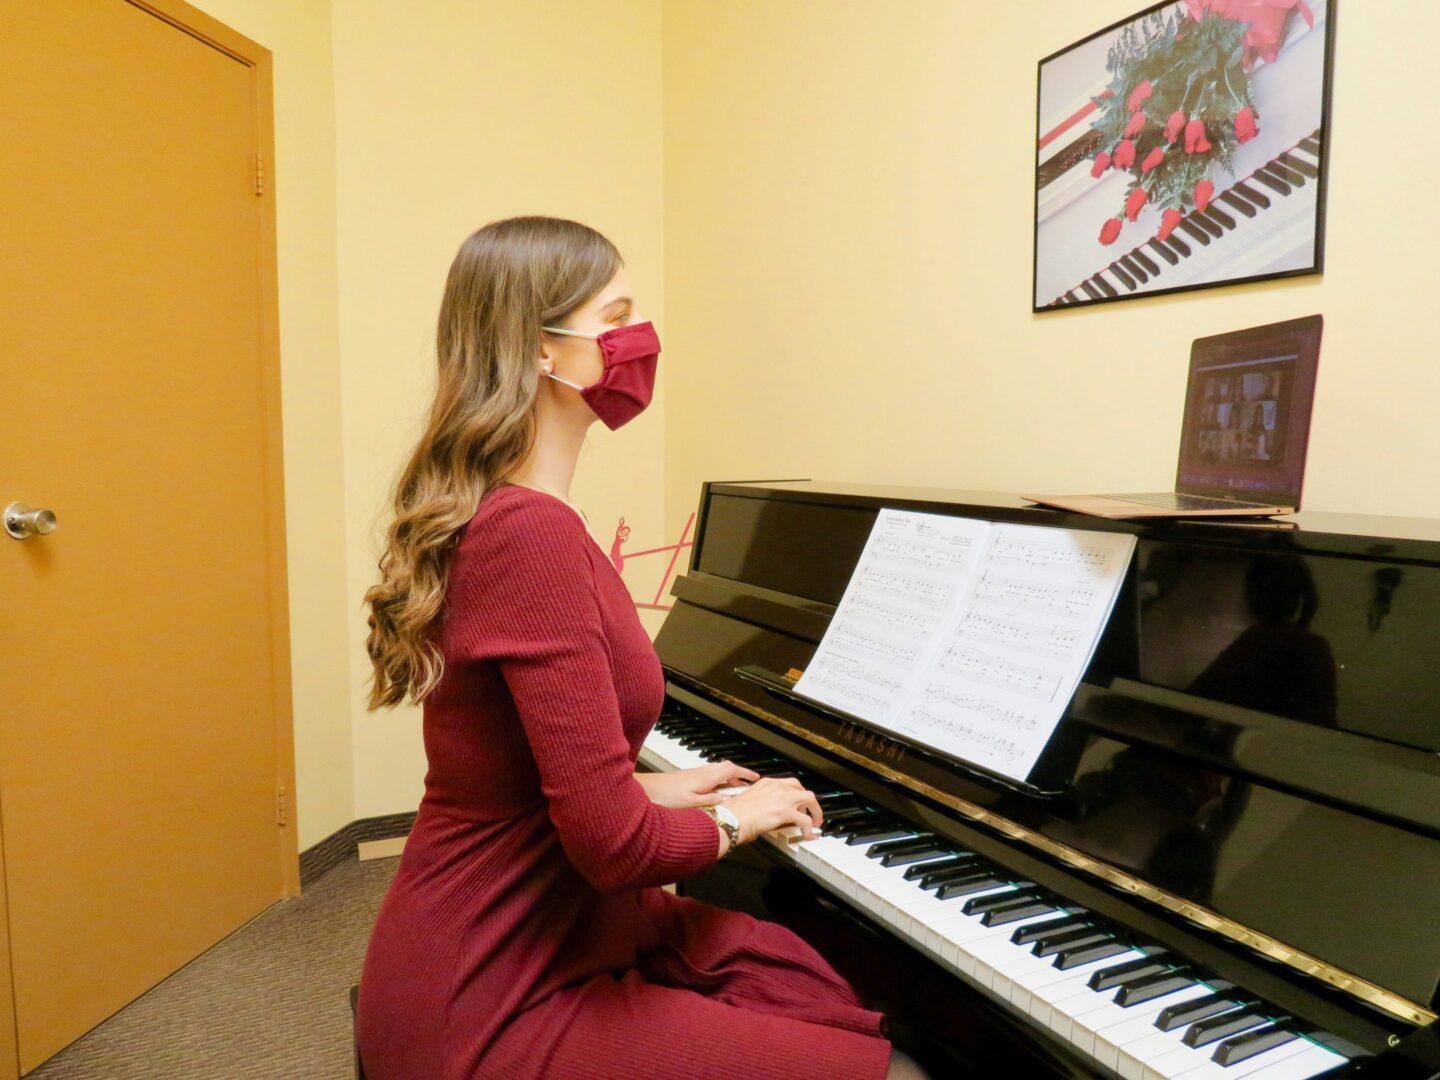
Prep Your Space
Do your virtual music lessons in a clean well-lit room.
Place your computer on a flat surface that lets your students see you at eye level. Also, leave a good amount of space behind you to stand and move around.
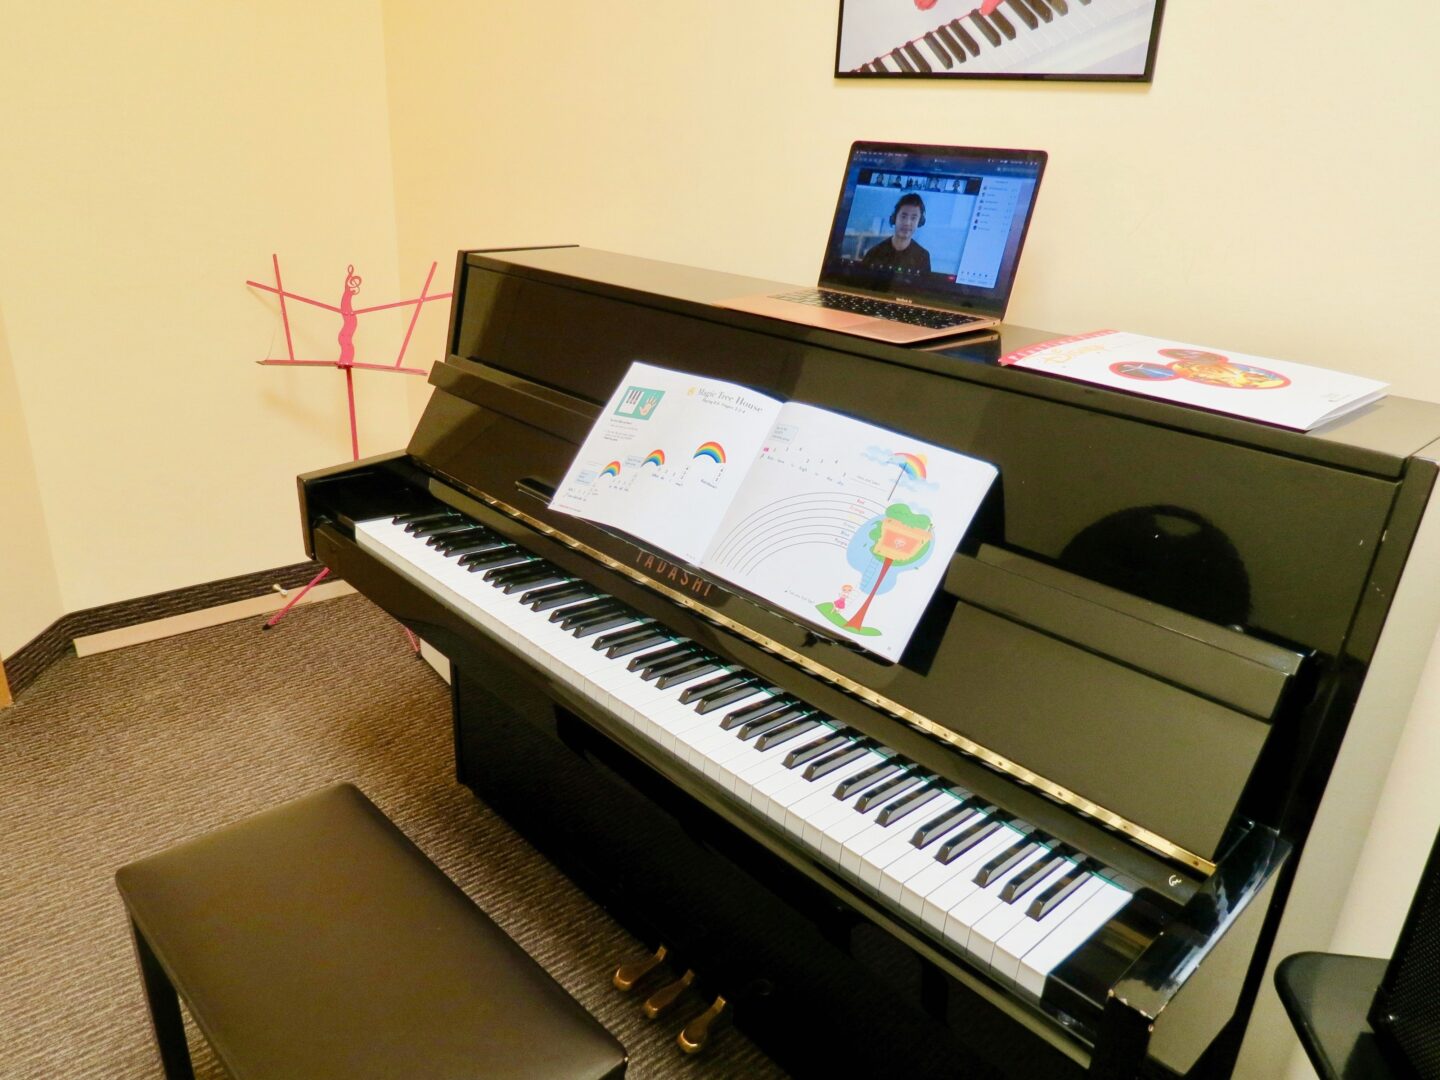
Set Up Your Technology
I recommend doing virtual music lessons on a computer. However, if you’re experiencing technical difficulties, download and use Zoom on a smartphone or tablet.
- Connect to a solid Wi-Fi or internet connection.
- Download Zoom on-to your computer.
- Install updates on Zoom before to make sure the software runs efficiently.
- Open a web browser on your computer.
- Have YouTube, Google, and a virtual piano open as Tabs in your web browser.
- Have your Zoom Meeting ID code and password close by.
Beginning of The Virtual Music Lesson
Sign-In Your Virtual Music Student
When you’ve set up your technology, it’s best to have your Zoom Meeting ID code close by and the meeting’s password. Sign-in into Zoom two minutes early and click the ‘Unmute’ and ‘Start Video’ buttons.
Due to music students’ busy lives, give them five minutes past their lesson time to sign-in. If it’s been more than five minutes, remind them via phone call using the contact information they’ve provided.
When your student signs-in, instruct them to click the ‘Unmute’ and ‘Start Video’ buttons.
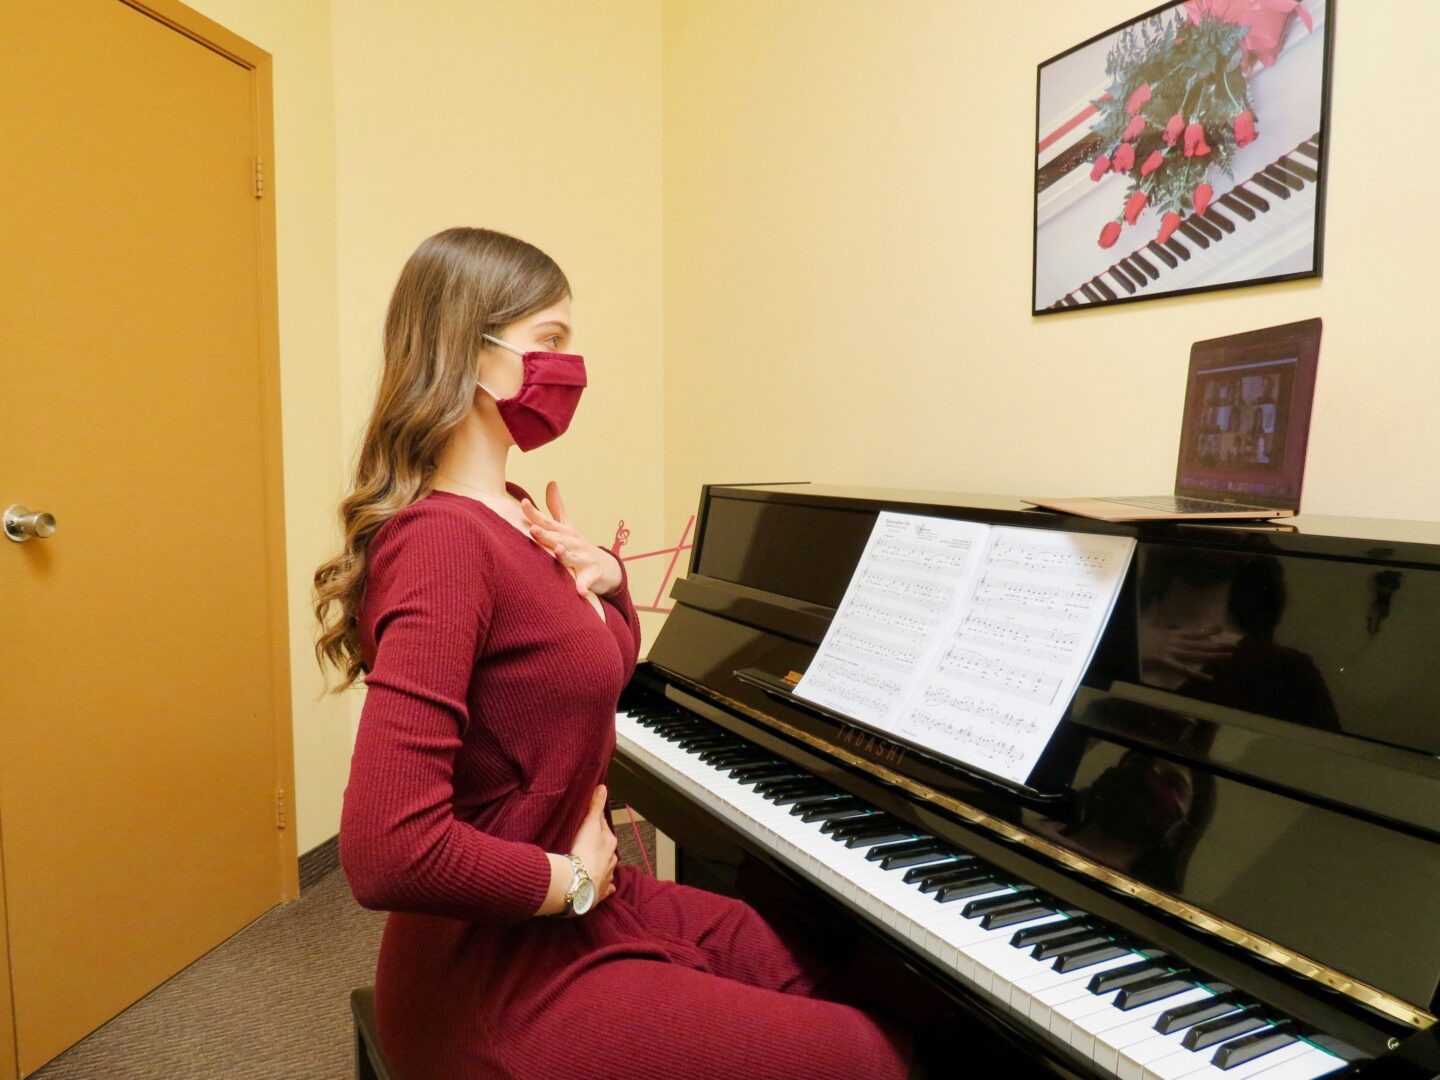
Warm-Up Stretch
Starting lessons with stretching allows your student to feel comfortable in the virtual setting.
Stretches to Try:
- Back Standing Side Bend
- Shoulder Deltoid Stretch
- Triceps Elbow-Up Stretch
A Breathing Exercise to Try:
- Ask your student to place their hands on their stomach and inhale like an imaginary balloon and exhale – deflating the balloon.
Singing – Vocal Warm-up
Vocal warm-ups should start with simple exercises and then gradually build into more difficult ones.
Examples:
- Humming on a 5-Finger Scale
- Singing ‘La’ or a vowel on a 5-Finger Scale
- Singing a Melody on a 5-Finger Scale (i.e., Mommy Made Me Mash My M&Ms)
- Singing a Traditional Song (i.e., Twinkle, Twinkle Little Star)
My favourite vocal warm-up book is Klaus Heizmann’s Vocal Warm-Ups: 200 Exercises for Chorus and Solo Singers!

Piano – Play Previous Piece
Ask your student to open their music book to the last song they’ve learned and have them perform it without instruction. I recommend Faber Piano Adventure books because they are suited for all ages.
Once the student has finished performing, decide if they still need to practice the piece or if they can move on.
If this is a new student, have them purchase a music book before the lesson.
Singing – Choose a Song
Choosing a song for your student to sing is a collaborative effort based on the student’s interest, talent, and age appropriateness.
Ask Your Student:
- Do you like singing in your high, middle, or low voice the best?
- Are there singers you feel like you sound like?
- What’s your favourite song?
How your student answers these questions can help you suggest songs that suit their voice and interests. When a song is chosen use a ‘clean’ or Kidz Bop version.
Age-Appropriate Songs:
- Brave by Sara Bareiles
- High Hope by Panic! At The Disco
- This is Me from The Greatest Showman
Middle of The Virtual Music Lesson
Singing – Introduce a Section of a Song
Now it’s time to separate the chosen song into sections.
- Copy and paste the song’s first verse and chorus into the Zoom Chat.
- Read the lyrics together.
- Share the YouTube link of the lyric video in the Zoom chat.
- Let your student repeatedly sing that section till they feel comfortable moving on.

Piano – Begin Learning The Piece
If you have decided that the piano student is ready to begin or continue a piece, it’s now time to separate it into steps.
- Highlight areas that need attention (i.e., dynamics, accidentals, repeats.)
- Clap the rhythm.
- If the piece has lyrics, you may sing them.
- Play the piece on the piano or a virtual piano for your student.
- Beginning teaching the piece measure-by-measure till it’s complete.
Singing – Let The Student Perform
When your student has sung with the lyric video twice, share the link of the YouTube karaoke version in the Zoom chat. Have your student then perform the section they know.
Questions to Ask After the Performance:
- What is one thing you liked about your performance?
- What is one thing we can improve on?
- Do you feel uncertain about any part of the song?
The student’s answers and your understanding can help them improve their technique. In the following lessons, continue going through sections of the song so they can eventually perform it fully.
Piano – Let The Student Play The Piece
When the student has learned the piece, ask them to perform it. If the piece has lyrics, ask them to play the song once with you singing and once without. Hearing the lyrics teaches them to accompany a singer and helps train their ear.

End of The Virtual Music Lesson
Cool Down Stretch
Do a cool down stretch with your student after they’ve performed. Make them take a deep breath in and out, while they raise their arms above their head.
Let Them Write in Their Practice Journal
On top of music books, recommend that your student brings a journal to virtual music lessons. Ask the student to write the date and the songs they’ve learned – including the page number and musician’s name. Practice journals are a good reference for students’ parents or guardians to track as well.
End Virtual Music Lesson
Let your student click Zoom’s red ‘End’ and ‘Leave The Meeting’ buttons when the lesson is finished. Having them click these two buttons assures you that they’re no longer using the Zoom Meeting ID code. This prevents technical difficulties for the next student signing in with that same Zoom Meeting ID code.
Whether you’re a teacher or a student, I hope you enjoyed learning about my story and how to successfully teach music virtually!