One weekend in January, I took myself out on a date to get a manicure. Anyway, the whole process was relaxing and I decided from then on to set time aside to give myself a manicure once a week. While doing my nails this weekend, I got excited that I finally had all the right tools to share my routine with you.
It’s a simple ten-step process that you can do in the comfort of your own home!
How to Paint Your Nails at Home?
Step One: Remove Your Previous Nail Polish
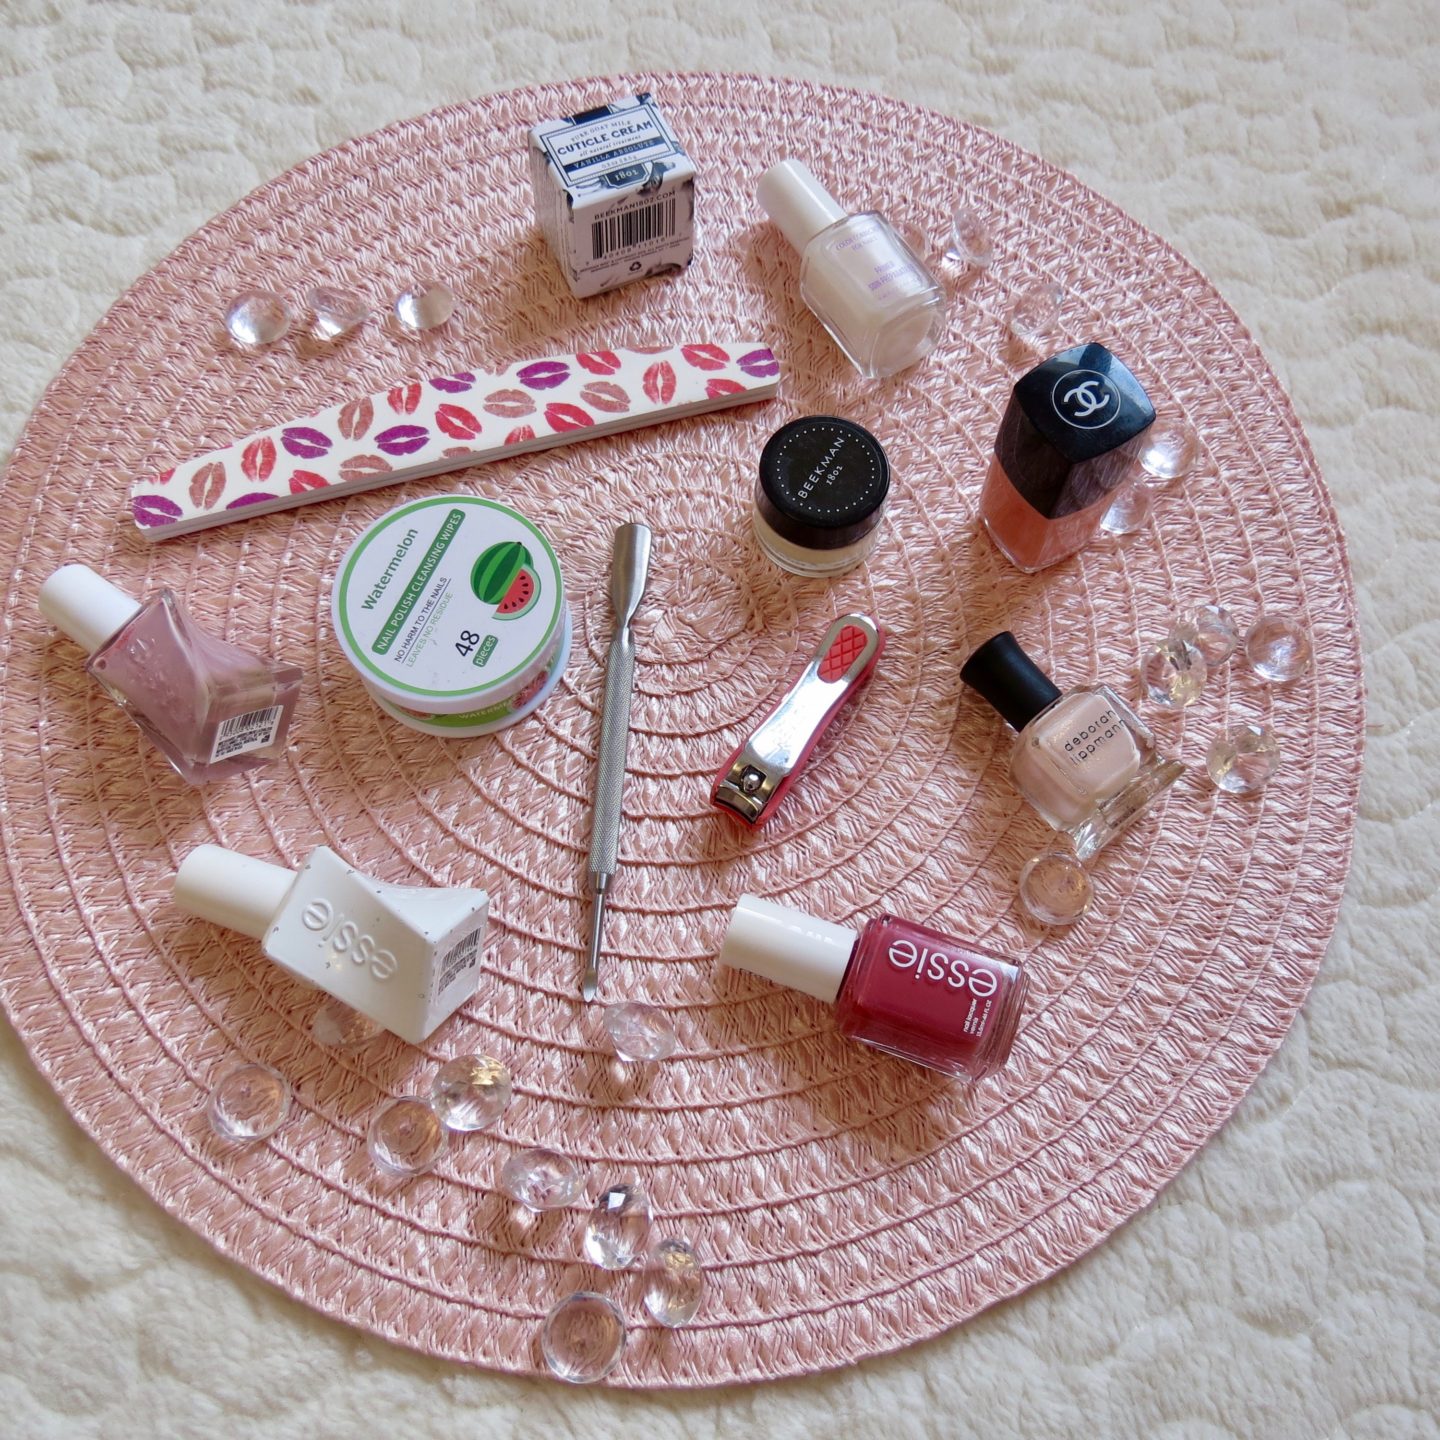
You can skip this step if your nails are already bare. If I have chipped nail polish on I use
Step Two: Use a Cuticle Cream
This is a new step I’ve added because I got a Beekman 1802 Vanilla Absolute Cuticle Cream as a gift. The cream softens the cuticles and nourishes the nails.
Step Three: Cut Your Nails
The length you want your nails is your choice. I play piano daily and prefer to cut my nails short with a Revlon Nail Clipper.
Step Four: File Your Nails
Sometimes when you cut your nails, you get rough edges. That’s why you file the nails down to create the shape you want. You can find nail files in different patterns and sizes too. I’m currently using a Quo Extra Thick Emery Sharper.
Step Five: Soak Fingertips in Lukewarm Water
I soak my fingertips in lukewarm water for two minutes to soften up my cuticles which makes removing them easier in the next step.
Step Six: Clean Up Your Cuticles
I’m admitting now that before I fell in love with manicures – I hardly paid attention to my cuticles. When I started getting my nails done, the manicurist used a cuticle pusher and I picked one up. Cleaning up your cuticles lets the nail polish go on smoother and prevents hangnails.
Step Seven: Apply a Base Coat
We’re one step closer to nail polish! I use this discontinued Essie Millionails Nail Primer & Strengthener. I bought it at a L’Oreal Paris Warehouse Sale a couple of years ago.
Step Eight: Choose Your Nail Polish and Apply Three Coats
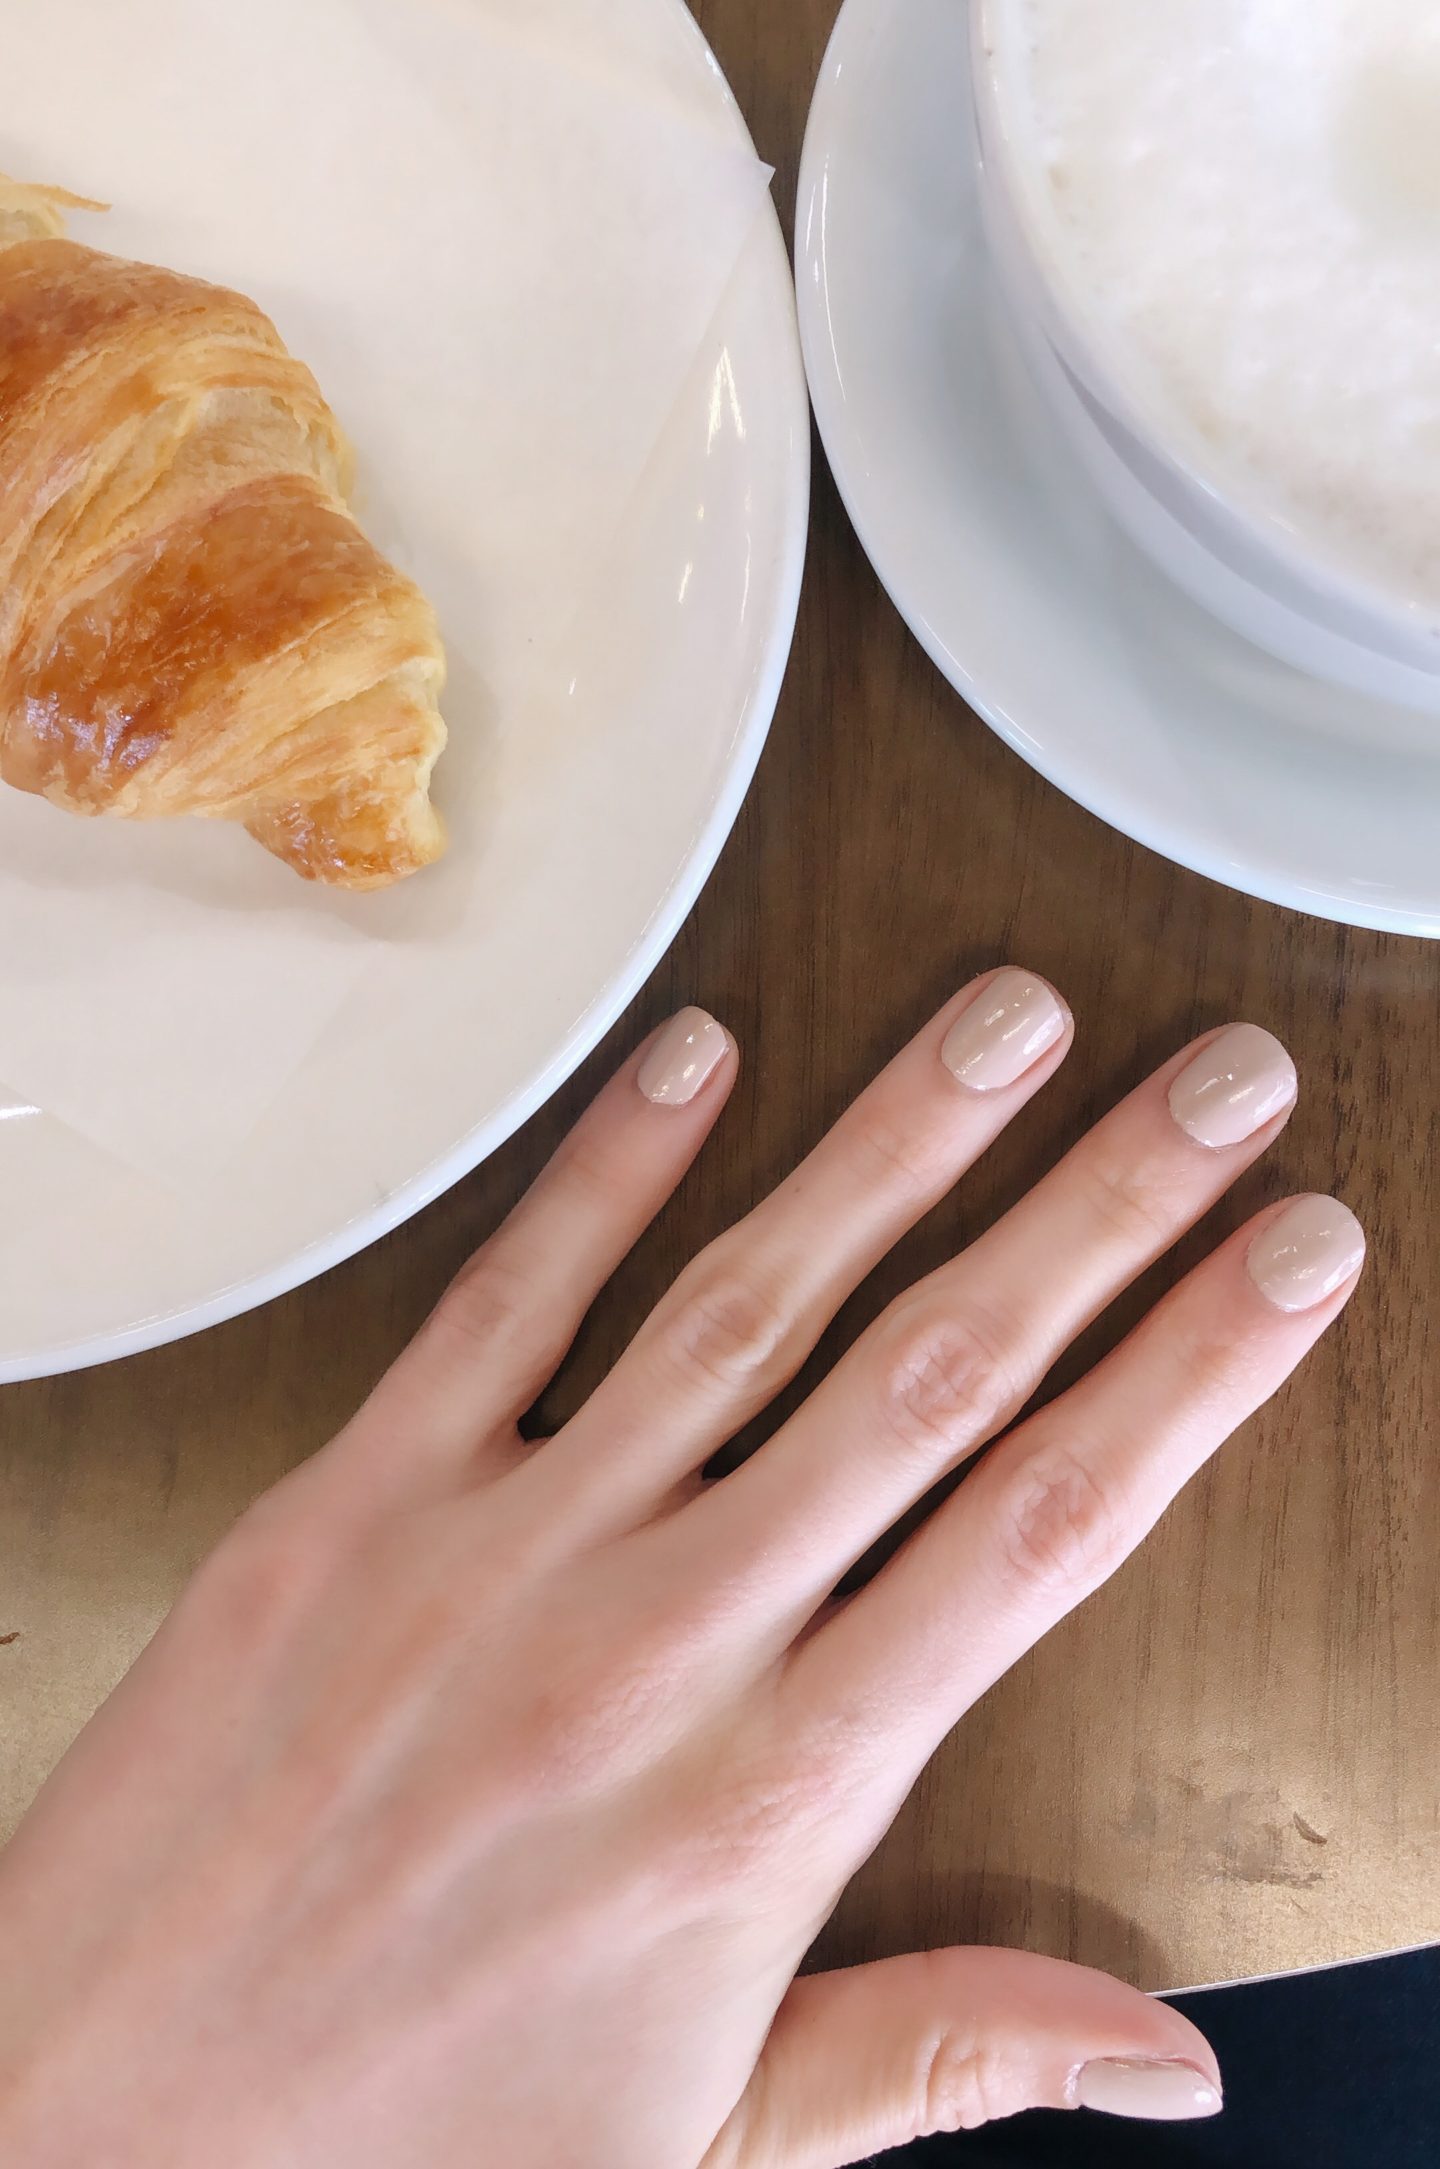
The best part. I dunk the brush in the polish for each nail and brush up and down from left to right. I complete both hands and then start the process again. If it’s a coloured polish I do three coats and if it’s a nude polish I do up to four coats. My favourite nail polishes are from Essie, O.P.I., and Deborah Lippmann.
Step Nine: Put on a Top Coat
After applying the polish, I then brush on my Essie Gel Couture Top Coat and leave it be. I’m not sure if there’s a difference between the Essie Good to Go! Fastest Drying Top Coat and the Gel Couture Top Coat. Always make sure to wipe your top coat brush before applying it to your new manicure. You wouldn’t want last week’s navy blue polish on top of your new nude manicure.
Step Ten: Let Your Nails Dry
When you are using a traditional nail polish it can take up to an hour for them to dry. This is when I put on Netflix and watch a movie.
What are your steps when you give yourself a manicure?
I’m always curious to find out people’s favourite nail polish brands and the tools they use.
My nails always seem to look so ugly when I do them at home. Turns out it’s probably because I’ve been clipping them and leaving rough edges! I’ll have to pick up an inexpensive nail file and include this step I’d been missing. Thanks for the post!
Thank you for commenting Megan. I noticed when I started using a file and cuticle pusher it made a lot of difference in the appearance of my nails.